As cryptocurrency adoption continues to grow worldwide, protecting digital assets has become more important than ever. Many users store crypto on exchanges or mobile wallets, which exposes funds to hacking, phishing scams, and system failures. Hardware wallets provide the strongest security by keeping private keys offline. Trezor is one of the most trusted hardware wallet brands, offering reliable protection combined with ease of use. This guide explains how to use Trezor.io/start to set up your wallet correctly and secure your crypto for long-term storage.
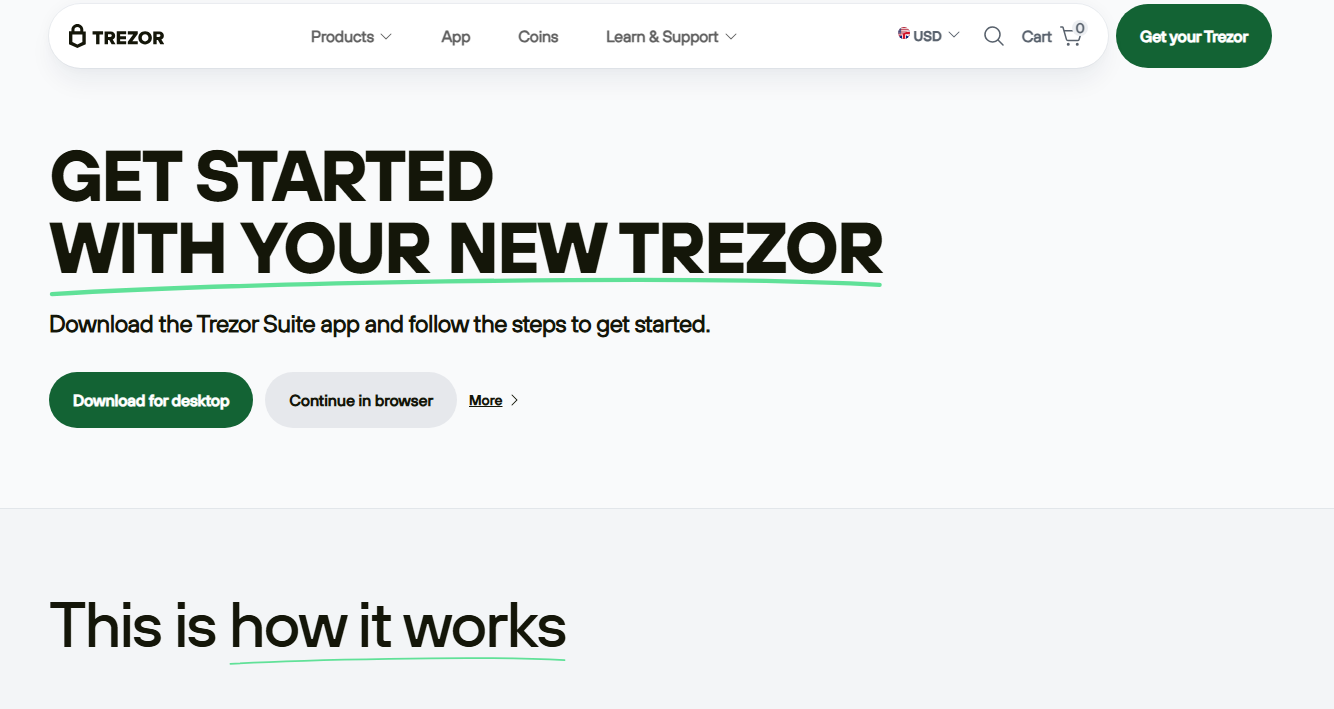
Trezor.io/start is the official onboarding page for Trezor hardware wallets. It provides verified instructions for downloading Trezor Suite, installing firmware, generating recovery backups, and configuring wallet security. Whether you use Trezor Model One or Model T, this page ensures your device is initialized using authentic and up-to-date procedures.
Using the official setup portal helps protect you from fake websites, counterfeit software, and phishing attempts that try to steal recovery phrases or private keys.
Trezor wallets store private keys inside the device and never expose them to the internet. This eliminates the risk of remote hacking and malware attacks. Every transaction must be physically confirmed on the wallet, giving you full control over your funds at all times.
Trezor supports thousands of cryptocurrencies including Bitcoin, Ethereum, Litecoin, Cardano, Solana, XRP, and ERC-20 tokens. With Trezor Suite, users can track balances, send and receive crypto, exchange assets, and manage multiple accounts from a single secure interface.
These features make Trezor wallets ideal for beginners, investors, and professional traders alike.
Before visiting Trezor.io/start, make sure you have:
Having these ready will ensure a smooth and stress-free setup process.
Follow these steps carefully to initialize your wallet securely.
Open your browser and navigate to Trezor.io/start. Select your device model and operating system to begin the guided setup.
Install Trezor Suite, the official application used to manage your wallet. It allows you to view balances, send and receive crypto, update firmware, and manage accounts safely.
Plug your Trezor wallet into your computer using the USB cable. Once connected, follow the instructions shown on your screen.
New devices require firmware installation before use. This ensures your wallet has the latest security features and performance improvements.
Choose the option to create a new wallet. Depending on your device model, you may be offered standard or advanced backup options.
Your device will generate a recovery seed made up of 12, 18, or 24 words. This seed is the only way to restore your wallet if your device is lost, damaged, or reset. Write the words carefully in the correct order and store them in a secure offline location.
Never save your recovery seed digitally or share it with anyone. Anyone with access to this seed can control your crypto assets.
Your Trezor device will ask you to confirm the seed by selecting or entering the correct words. This verifies that you recorded it properly.
Create a strong PIN code to protect your device from unauthorized access. This PIN will be required each time you connect your Trezor wallet.
Once completed, your wallet setup is finished.
After setup, open Trezor Suite and add cryptocurrency accounts. Choose assets such as Bitcoin or Ethereum and follow the on-screen instructions.
Each account is secured by your hardware wallet, ensuring private keys remain offline and protected at all times.
To receive crypto, open Trezor Suite, select your account, and click “Receive.” A wallet address will appear. Always verify the address on your Trezor device screen before sharing it.
To send crypto, enter the recipient’s address and transaction amount, then confirm the transaction directly on your Trezor device. This physical verification prevents unauthorized transfers and malware attacks.
Security best practices are essential for protecting digital assets. Always store your recovery seed offline and never share it. Trezor will never ask for your recovery phrase or PIN.
Avoid downloading software from unofficial sources or clicking suspicious links. Be alert to phishing emails pretending to be Trezor support.
Regularly update your firmware and Trezor Suite software to maintain strong protection against new threats.
Some users experience device connection errors, firmware installation problems, or PIN entry mistakes. These can usually be resolved by restarting your device, switching USB ports, or reinstalling Trezor Suite.
If your wallet locks after multiple incorrect PIN attempts, you can restore access using your recovery seed.
Always use Trezor.io/start or official Trezor support resources for troubleshooting guidance.
Trezor.io/start provides:
It is the safest and most reliable way to begin using your Trezor hardware wallet.
Trezor.io/start is the official gateway to securing your cryptocurrency using a Trezor hardware wallet. By following the setup instructions carefully, creating a strong PIN, and storing your recovery seed safely, you gain full control over your digital assets with industry-leading protection.
Whether you are new to crypto or managing a long-term investment portfolio, Trezor offers security, simplicity, and peace of mind. Visit Trezor.io/start today and take your first step toward safer crypto storage.